


Redash is an amazing open source tool for querying and visualizing data. It allows you to connect to any data source, easily visualize and share your data, and collaborate with your team. For more information, please visit Redash GitHub repository.
This fork adds support for AI.
New Redash features:
- Data Source Description: Help the AI to understand your data better.
- Text To Query: Use AI to generate SQL, NoSQL and other queries from natural language questions.
- Auto Visualizations: Use AI to auto-generate visualizations for questions.
- Auto Alerts: Use AI to generate alert suggestions from your data and queries.
- Name To Dashboard: Use AI to generate dashboards from your queries and visualizations.
- MacOS Support: Now it runs on MacOS as well as on Linux.
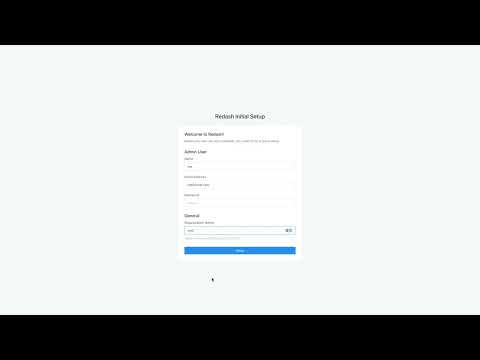
Watch the demo video on YouTube to see the new AI features in action.
NOTICE: All tests were run on a local PC.
- Anthropic [Cloud]
- DeepSeek [Cloud, Local & Remote]
- Gemini [Cloud]
- Grok [Cloud]
- HuggingFace [Local]
- OLlama [Cloud, Local & Remote]
- OpenAI [Cloud]
- OpenRouter [Cloud]
See Redash's Prerequisites for detailed instructions on how to install the prerequisites.
git clone https://github.com/freaker2k7/redashcd redashmake local_initREDASH_COOKIE_SECRET=1234....1234
REDASH_SECRET_KEY=1234...1235
HF_TOKEN=hf_1234...1234
make local_runAlternatively, you can run the server and client separately:
# Run the server
make up
# Run the client
make start
NOTE: This is useful if you want to run the server and client in separate machines. while [[ $(curl -s -o /dev/null -w "%{http_code}" http://localhost:5001) -ne 200 ]]; do; sleep 1; done
6. Open your web browser and go to http://localhost:5001 to access Redash.
Install Nginx if you haven't already - Nginx Installation Guide
Then add the following configuration as redash.conf to your Nginx configuration folder (usually located at /etc/nginx/conf.d/):
server {
	listen 80;

	server_name yourdomain.com;

	# If you want only HTTP, then remove from this comment...
	return 301 https://$host$request_uri;
}

server {
	listen 443 ssl;

	server_name yourdomain.com;

	ssl_certificate /path/to/your/certificate.crt;
	ssl_certificate_key /path/to/your/private.key;
	# ... up to this comment.

	while [[ $(curl -s -o /dev/null -w "%{http_code}" http://localhost:5001) -ne 200 ]]; do; sleep 1; done
		proxy_pass http://localhost:5001;
		proxy_set_header Host $host;
		proxy_set_header X-Real-IP $remote_addr;
		proxy_set_header X-Forwarded-For $proxy_add_x_forwarded_for;
		proxy_set_header X-Forwarded-Proto $scheme;
	}
}
NOTE: This step is suited only for on-premise installations. If you are using a cloud provider, think about using their load balancer or reverse proxy service instead.
Quick installation steps for those who want to get started with Redash quickly:
git clone https://github.com/freaker2k7/redash
cd redash
make quickstart
NOTE: This will take a few good minutes to complete. Once done, you can access Redash at http://localhost:5001. Meanwhile, you can get some coffee.
To stop Redash, run the following command in the project directory:
make downAlso, you can clean up a bit by running, in the project directory:
make cleanNow there is a helper Ubuntu docker in /macos-helper which assists with installing the python dependencies.
Moreover it has an RDP support, so one can use Microsoft Remote Desktop Manager to access the Ubuntu GUI and work on the Redash server and client from there.
You can build the helper docker with the following command:
docker build -t macos-install-helper ./macos-helperThen run it with the following command:
docker run -d -p 3389:3389 -v /var/run/docker.sock:/var/run/docker.sock -v $(pwd):/home/redash/redash --name ubuntu macos-install-helper /entrypoint.sh rdpFinally, you can connect to the Ubuntu GUI with the following credentials:
Username: redash
Password: 1234
Host: localhost
Port: 3389
Please email me to report any security vulnerabilities regarding the AI feature explicitly. We will acknowledge receipt of your vulnerability and strive to send you regular updates about our progress. If you're curious about the status of your disclosure please feel free to email us again. For any other issue, please issue or PR to the Redash GitHub repository.
BSD-2-Clause.